Monday, 29 July 2013

DIY: Dress > Short shorts

Been on a bit of a DIY frenzy since I've finished my placement, which I guess is kinda good for my bank balance.
I currently have a playsuit that I absolutely love the shape of but not so fond of the print and I was going to buy some fabric and make up a pattern but I remember I had an old dress I bought from ebay for about a pound but the top was far too small for my boobs. BOO But the skirt was so large I thought would make the perfect pair of shorts so...I got sewing!


Step one. 
Lay the skirt flat and measure the front width and back width. Measure the crotch depth before taking to the scissors, and cut this measurement at the half point. Turn inside out and pin the front and back together.

Step Two.
Sew 1cm parallel to the edge and square along the top (basically a rectangle around the edge) Snip into the corners of the rectangle so the fabric lays flat. 


Step Three.
Either roughly roll or do as I did and measure to the point you want them rolled to and fold evenly, it helps to give each press a quick press to hold them in place. I then did a quick stitch along hidden points to keep it folded.

AND FINALLY...


This photo doesn't do them much justice but I will definitely take an ootd photo when I get round to wearing them!

Hope you like!!
Remember to follow my instagram for lots of fashiony photos and ootd's @ Katie_cmanning

Monday, 22 July 2013

Playsuit DIY

I bought this playsuit from the amazing Blitz Vintage in Brick Lane just after my birthday. I absolutely love it but more so because of the high waisted shorts and the AMAZING print but I know i'm never going to wear it as a playsuit so I thought why not seperate the top from the shorts. It's a really easy task, you don't need to be a pro using a pair of scissors and a sewing machine so anyone can do it.


Step one.
Lay the playsuit out flat and cut as close as possible just above the waistband.
If there is an elasticated band like there is on mine make sure you hold back the over locked edge and cut just above the last elasticated thread. This will need to be folded and sewn down to make it even along front edge, also to hide the over locked edge.


Step Two.
I love the white funky buttons on the shorts but i'm likely to wear a belt over the top so needed to change them for something a bit flatter. Unfortunately I couldn't find any two of the same in the button tin my nan gave me but I did find two 'make your own' buttons which you can cover in any fabric of your chose. I chose plain black. 
Another step that is so simple to do yet makes such a difference.


Step three
Once the shorts were done I finished the top with a rolled hem, and sewed the edged of the lapels together to make a boxy cropped t-shirt shape with a collar.

Now I have a super cute twosie.
I'll probably wear them more as separates and will style the shorts with a high rolled tshirt, rolled shorts, black studded belt.
The top i'll probably put on under my black pinny dress or with my my super high waisted black leggings.
I'll style both with my chunky gold chain and cut out boots.


So excited to wear these!! I love DIY'ing it's so fun creating new clothes from oldies, changing and customising things can make your wardrobe so refreshing when it's getting a little boring.
AND ITS FREE (mostly)

Have you done any DIY recently or want to customise something but not sure how?

Kates xxx


Tuesday, 9 July 2013

WAISTE

Cannot get over the selection of the cutest dungarees over at WAISTE. They've definitely inspired me to get DIY'in on some of my own denim.

These two are my absolute favourites. Loving daisy's at the moment <3 


What are your fav items at WAISTE?


Monday, 8 July 2013

POLYVORE

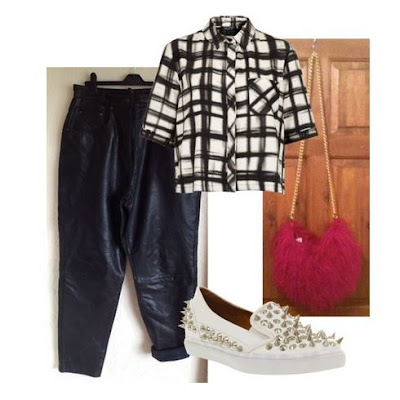
I've always used Polyvore for design research etc but never for it's actual purpose and it's safe to say i'm hooked. It's so great to use to plan outfits, find outfits for events and more inspiration!

Here's a few of the sets I've created so far